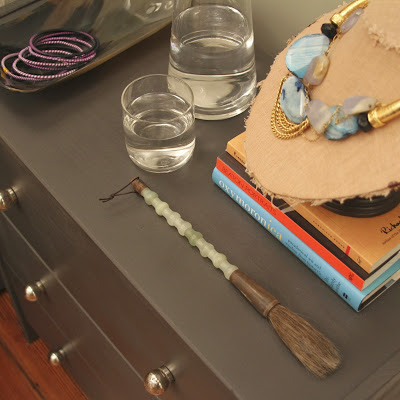
I have been looking for a set of bedside tables for quite sometime. I have done an exhaustive search for tables that meet the following criteria: storage, at least 24 inches wide, silver accents and wood. Well, the only thing I kept coming back to were the Rast dressers at IKEA. I had never done a DIY furniture piece, so I was a bit hesitant. However, I was coming back from a friends wedding in North Carolina and needed an excuse to get out of the car...so I decided to bite the bullet, stop at IKEA and give this whole DIY furniture thing a try. I am glad I did!
Here is what you will need:
Rast 3 Drawer Chest
Fine Sand Paper or Sand blocks
Rust-Oleum
Face Mask (protect yourself from fumes and dust)
Cardboard (to protect surfaces from spray paint)
Decorative Drawer Knobs
 |
| What you need! |
Step One: I chose to only spray paint the visible pieces...it actually ended up being a cleaner look. The three front drawer panels, two exterior side panels, top panel and bottom inset panel were the only pieces that needed to be spray painted.
 |
| Step One |
Step Three: Next, I decided to assemble the dresser to make sure I had spray painted all of the exposed areas. Assembling the furniture prior to its final coat of paint makes it look more cohesive too!
 |
| Step Three |
 |
| Step Four |
 |
| Step Five |
 |
| Finished Product |
 |
| Horn Tray, Carafe and Calligraphy Brush |
Well...what do you think? What should our next DIY project be? We are open to ideas!
Best,
Marion + Leslie


No comments:
Post a Comment